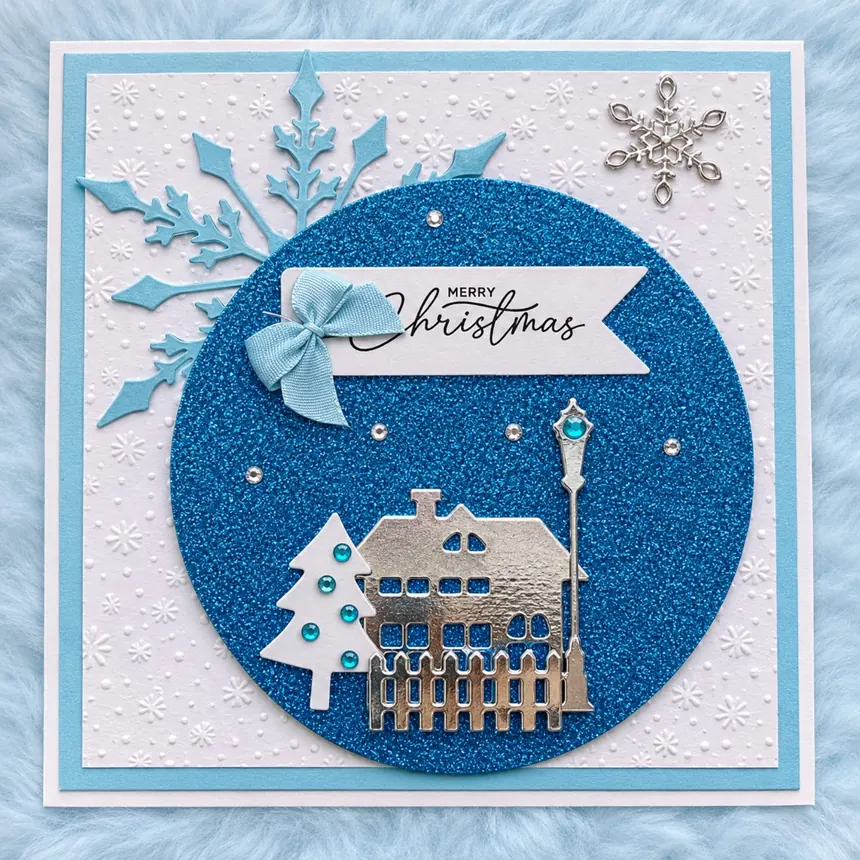
One card down, and I’m already getting excited about this new crafting adventure! The outside of my first handmade Christmas card is finished, and all that’s left is to emboss the inside before it’s ready to go. And can we just take a moment to appreciate all that blue sparkle? 💙
A Winter Wonderland in Paper
I went with icy blue, white, and silver for my first card. I wanted it to feel like a little winter wonderland, with plenty of sparkle and tiny details to discover.
- Embossed snowflake background. White cardstock with raised snowflakes and tiny dots gives the card a snowy texture.
- Glittery blue centerpiece. The big blue circle makes the silver details stand out.
- Layered snowflakes. Light-blue die cuts peek out from behind the centerpiece for extra dimension.
- Silver winter village. A little house, fence, and lamppost make an adorable snowy neighborhood.
- Tiny Christmas tree. A white die-cut tree gets a little sparkle from blue rhinestones.
- A little blue bow. Because every Christmas card deserves an extra cute detail!
- Silver snowflake embellishment. A delicate metallic accent in the upper corner.
- Merry Christmas sentiment. A white banner with elegant lettering finishes the front.
Behind the Crafting Table
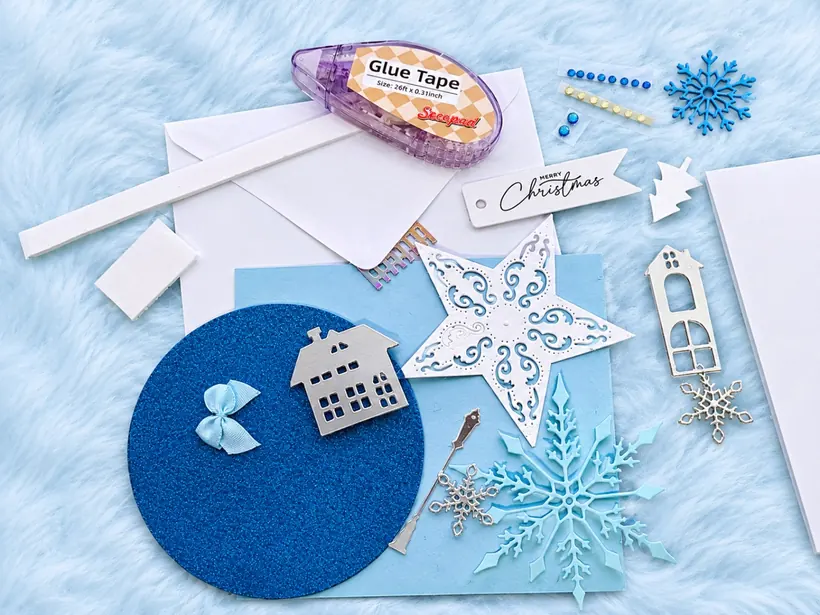
One thing I’m already enjoying about card-making is seeing all the little pieces come together. At first it’s just cardstock, die cuts, ribbon, and adhesive spread across the table. Then you add a snowflake here, a little sparkle there, and a tiny bow that absolutely needs to be in just the right spot. 😂 Suddenly you’ve made a whole winter village out of paper.
One Last Step: Embossing the Inside!
I want to carry a little of that snowy texture inside the card. Once I’ve embossed it, my first handmade Christmas card will be ready to send. I’m still figuring out which techniques I enjoy most, and I already know I want to make more.
A Little Reminder for Fellow Crafters
You can start with the supplies you already have, experiment with colors, and see what happens. Give yourself room to play. I’m excited to share more designs, techniques, and the occasional crafting mishap here in Creative Corner. Knowing me, there will absolutely be some glitter-related chaos along the way. 😂
Help Me Choose My Next Card!
Which theme should I try next? Vote below, and if you’re a fellow card-maker, I’d love to hear your favorite embossing technique or beginner tip in the comments.
One card down, many more creative adventures to go! 💙✨
Stay cozy and stay creative,
💜 Bella